Steamed milk is the heart of most espresso-based drinks — lattes, cappuccinos, flat whites, macchiatos, and more. Learning how to steam milk properly is a crucial skill for any aspiring barista. It’s not just about heating the milk — it’s about creating the perfect texture, consistency, and temperature to complement your espresso.
In this guide, you’ll learn exactly how to steam milk like a professional barista, even if you’re just starting out.
Why Steamed Milk Matters
Steamed milk isn’t just about heat. It changes the texture, sweetness, and mouthfeel of milk. Good steaming brings out natural sweetness, adds silky texture, and integrates smoothly with espresso.
The goal is to create microfoam — milk with tiny, uniform bubbles that give it a glossy, velvety appearance. This is the ideal base for latte art and for achieving that smooth café-style texture.
Equipment You’ll Need
To steam milk properly, you’ll need:
- An espresso machine with a steam wand
- A metal steaming pitcher (12 oz or 20 oz)
- Fresh, cold milk (dairy or plant-based)
- A thermometer (optional, but helpful for beginners)
- A clean towel to wipe the wand
Most home espresso machines come with steam wands, but commercial wands offer better power and control.
Step-by-Step Guide to Steaming Milk
Step 1: Choose the Right Milk
Start with cold, fresh milk, as it gives you more time to texture before overheating. Each type of milk behaves differently:
- Whole milk: Creamiest and easiest to foam
- 2% or skim milk: Lighter foam, more air
- Oat milk: Great alternative, easy to steam
- Almond milk: Can curdle if overheated
- Soy milk: Needs careful temperature control
Tip: Barista-edition plant milks are specially formulated for steaming.
Step 2: Fill Your Pitcher
Pour milk up to the bottom of the spout. Overfilling will make it hard to control. Underfilling won’t give you enough steam pressure to work with.
Step 3: Purge the Wand
Before steaming, always purge the steam wand by turning it on briefly to expel any water or milk residue. This ensures dry steam and protects your drink’s flavor.
Step 4: Submerge and Angle the Wand
Place the tip of the steam wand just below the surface of the milk, near the side of the pitcher. Tilt the pitcher slightly to create a whirlpool.
Step 5: Start Steaming — The Stretching Phase
Turn on the steam wand fully. Allow the wand to introduce air by keeping the tip just below the surface. You should hear a gentle hissing or tss-ttss sound — not a loud screech.
This stage is called “stretching” because you’re stretching the milk’s volume with air. This should last just a few seconds — enough to increase volume slightly.
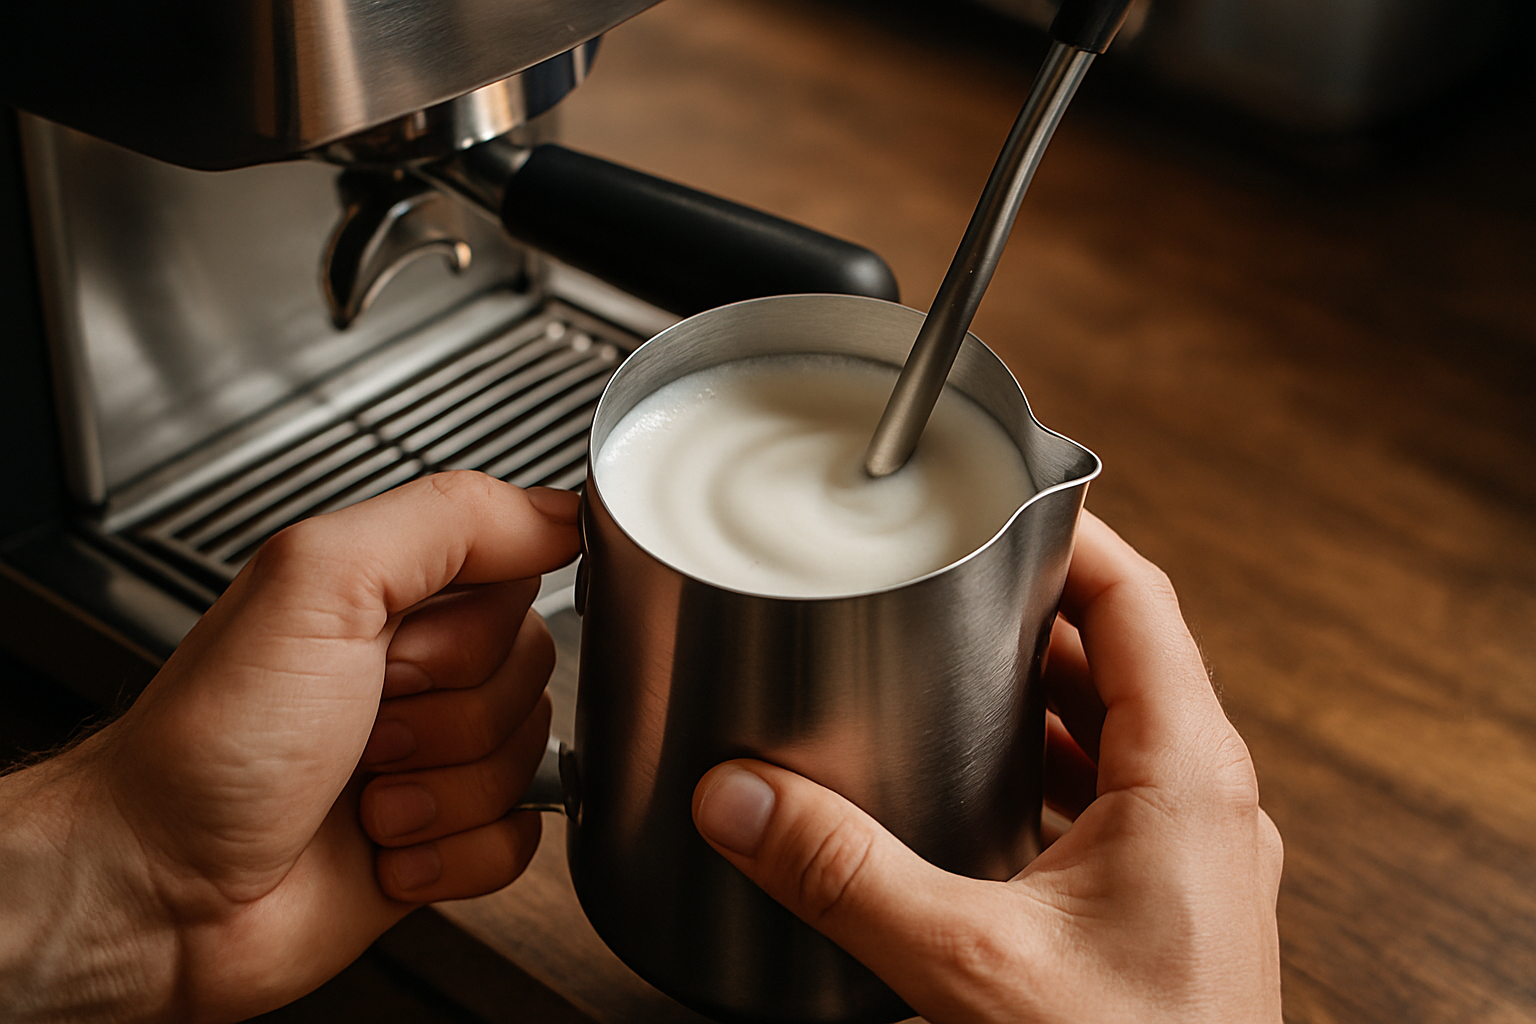
Step 6: Texture and Spin
After stretching, raise the pitcher slightly so the wand is fully submerged. This creates a vortex or whirlpool, helping break up larger bubbles and incorporate the foam.
Let the milk spin and heat up until the pitcher becomes too hot to touch for more than 2 seconds, or until it reaches around 60–65°C (140–149°F).
Step 7: Turn Off and Clean the Wand
Turn off the steam before removing the wand to avoid splattering milk. Immediately wipe the wand with a damp towel and purge again to prevent buildup inside.
Step 8: Tap and Swirl
Gently tap the pitcher on a counter and swirl the milk to remove any remaining bubbles. The milk should now be smooth, glossy, and paint-like in texture — perfect for pouring.
Common Milk Steaming Mistakes
❌ Too Much Foam
Happens when you keep the wand tip too high above the milk during stretching. Fix it by submerging the tip sooner.
❌ Big Bubbles
Usually caused by poor whirlpool or not enough spinning during texturing. Swirl the milk thoroughly before pouring.
❌ Overheating
Milk should never exceed 70°C (160°F). Overheating kills sweetness and creates a burnt taste. Use a thermometer or your hand for practice.
❌ Screeching Sound
If the wand is too close to the surface or not submerged enough, you’ll hear a loud noise. Adjust the tip just below the surface.
Steaming for Different Drinks
- Latte: Light foam, creamy texture
- Cappuccino: More foam, almost 50/50 foam and milk
- Flat White: Minimal foam, very smooth and dense
- Macchiato: A small amount of milk and foam
Understanding how much air to introduce for each drink comes with practice.
Practice Tips for Beginners
- Start with whole milk — it’s more forgiving
- Use cold milk — more time to texture
- Record yourself to observe angle, wand position, and technique
- Watch baristas online — slow-motion videos help
- Steam two pitchers: one with water and dish soap for practice, one with milk
The Secret to Professional Milk Steaming
The secret isn’t just in the tools — it’s in repetition and attention to detail. Professional baristas practice hundreds of times to develop consistency. Don’t get discouraged if it takes a while.
You’ll know you’re close when your milk:
- Has no big bubbles
- Looks shiny and velvety
- Pours smoothly
- Tastes sweet and silky
Your First Step to Latte Art
Perfect steamed milk is the foundation for latte art. Once you’ve mastered the spin, stretch, and pour, you’ll be ready to create hearts, tulips, and more.
Great milk elevates a coffee from good to unforgettable. And now, you’re on your way to making every cup just that.